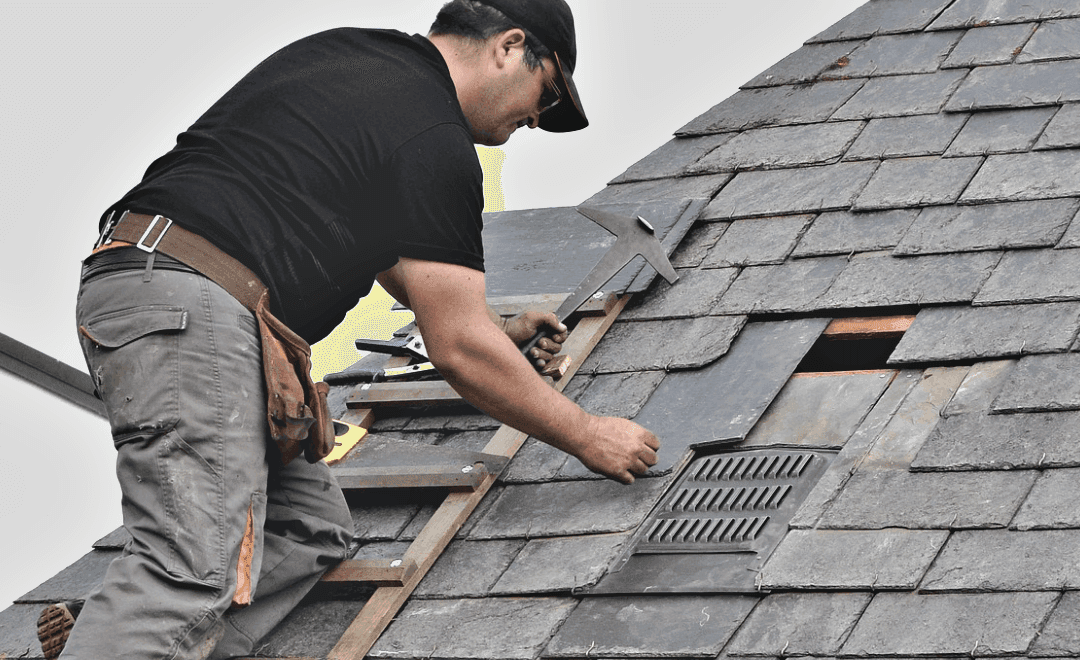
You can expect your shingle roof to last about 20 years. However, regular roof maintenance is key to extending its life—and that includes replacing shingles as they become loose or damaged.
When shingles break or lift, they can allow water intrusion, weaken your roof’s structural integrity, and increase the risk of mold or rot. Replacing shingles promptly is a critical part of roof maintenance that can save you from costly repairs down the line.
This homeowner’s guide walks you through the process of replacing shingles safely and effectively. If you’d rather leave it to a pro, we’re here to help.
Before You Get Started
Always prioritize safety when working on your roof. Never climb a roof alone, and wear sturdy boots and gloves. Use a solid ladder on level ground, and have someone secure the ladder while you’re climbing. For a helpful refresher, check out this ladder safety guide.
Step 1: Remove the Seal
If your shingle is still in place, you’ll need to break the seal before removal. Gently slide a flat pry bar under the shingle edge to pop the adhesive bond. Be mindful of temperature—the sealant will be gooey in heat and brittle in cold.
Next, lift the surrounding shingles enough to access the nails that hold your target shingle in place.
Step 2: Remove the Nails
Use your pry bar to lift the nail and shingle together to avoid damaging the granule layer. Work slowly and methodically to avoid tearing the material or harming adjacent shingles.
Step 3: Free the Shingle
You’ll also need to remove nails from the shingle directly above, since they overlap the top edge of the one you’re replacing. This double-nail method is what gives your roof wind resistance.
Carefully lift or loosen surrounding shingles to reach all nails holding the damaged piece in place.
Step 4: Slide in the New Shingle
Before inserting your new shingle, seal the exposed nail holes underneath with high-quality roofing cement or sealant. This prevents future water intrusion.
Ensure your replacement shingle is the same size and type. Slide it into place gently, aligning it with the others.
Step 5: Nail and Reseal
Secure the new shingle with roofing nails in the designated nailing strip. Press the surrounding shingles back down, resealing them with three small dabs of asphalt roofing cement evenly spaced along the shingle tabs.
This will help bond the new shingle to adjacent ones, especially in cooler weather when self-sealing isn’t immediate.
When to Call a Roofing Professional
While replacing shingles can be a DIY project, it’s not for everyone. If you’re unsure about working on your roof, lack the proper tools, or have multiple damaged shingles, it’s time to call in a pro. At SonShine Roofing, we offer full-service roof repairs in Sarasota and surrounding areas.
Our experienced team can replace damaged shingles and inspect your entire roof system for hidden issues like soft decking, poor ventilation, or flashing concerns. We also offer regular roof maintenance plans tailored to Southwest Florida homes.
Ready to Fix or Maintain Your Roof?
If you’ve spotted cracked, curled, or missing shingles, don’t wait. A small repair today could prevent thousands of dollars in damage tomorrow.
Contact us today to schedule your inspection and roof shingle replacement with Sarasota’s most trusted roofing team.


